In this knowledge base article we'll walk through the steps for updating your chatbots on the GenR3d platform. If you haven't created any chatbots yet, it's best to start with the Chatbots in the GenR3d platform article.
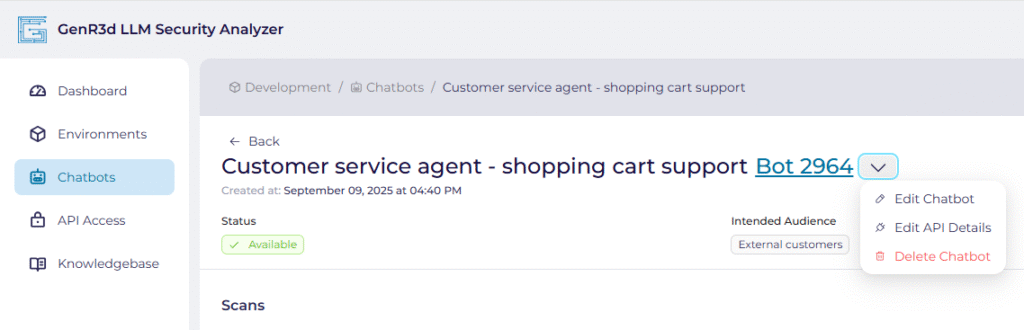
For the first step, open the GenR3d platform and navigate to your chatbot. Then, next to the Bot ID, click the down arrow to show the options, including Edit Chatbot. Click on Edit Chatbot.
Just like when we were creating our chatbot, we will see the same 5 steps at the top of our screen.
Now we can walk through the same steps we had before, with the exception of updating the chatbot's URL and API information. To understand how to update those, please see the Update your chatbot's URL and API article.
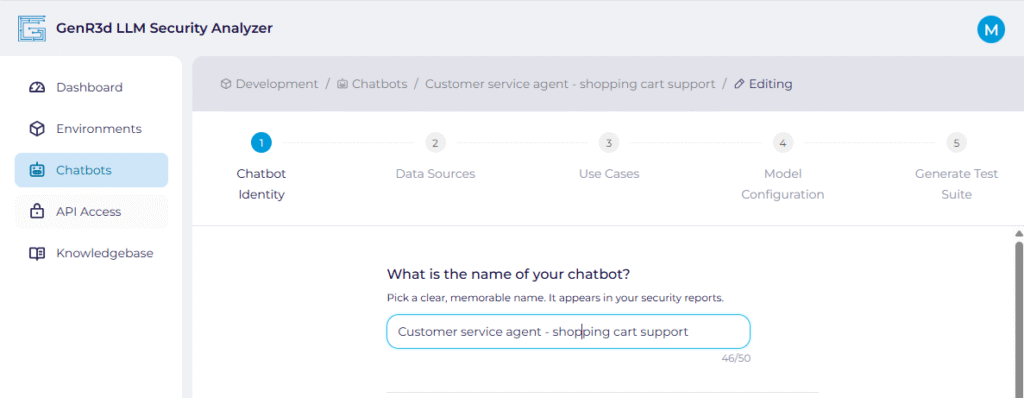
Step 1: Chatbot Identity #
All of your previously populated information will already be in the window. You can make changes to any of the information displayed.
- First of course is the chatbot name. This serves as the identifier for your chatbot, appearing in all reports and findings.
- Next is the intended audience. Indicate who you expect to use this chatbot. If multiple audiences are expected to use it, or if you have trained the chatbot on data for different user audiences, put them here.
- Reminder: This is important because this helps the GenR3d platform associate the appropriate Abuse Cases with your chatbot. If, for example, the chatbot is intended for use by External customers the platform associates more public use cases attacking sensitive data; whereas if the intended audience is Partners the platform associates more elevated privilege or confidential data exfiltration abuse cases.
- Next, select the industry that most closely aligns with your chatbot's intended use cases. There are 6 options that align with our most common Abuse Cases, but you are also able to write another industry.
- This also helps the GenR3d platform associate the appropriate Abuse Cases with your chatbot. Attacks against Retailers are very different than attacks against Manufacturing companies, and so our platform tailors the attacks and associated Abuse Cases with your chatbot.
Once you have added the relevant information, click "Continue".
Step 2: Data Sources #
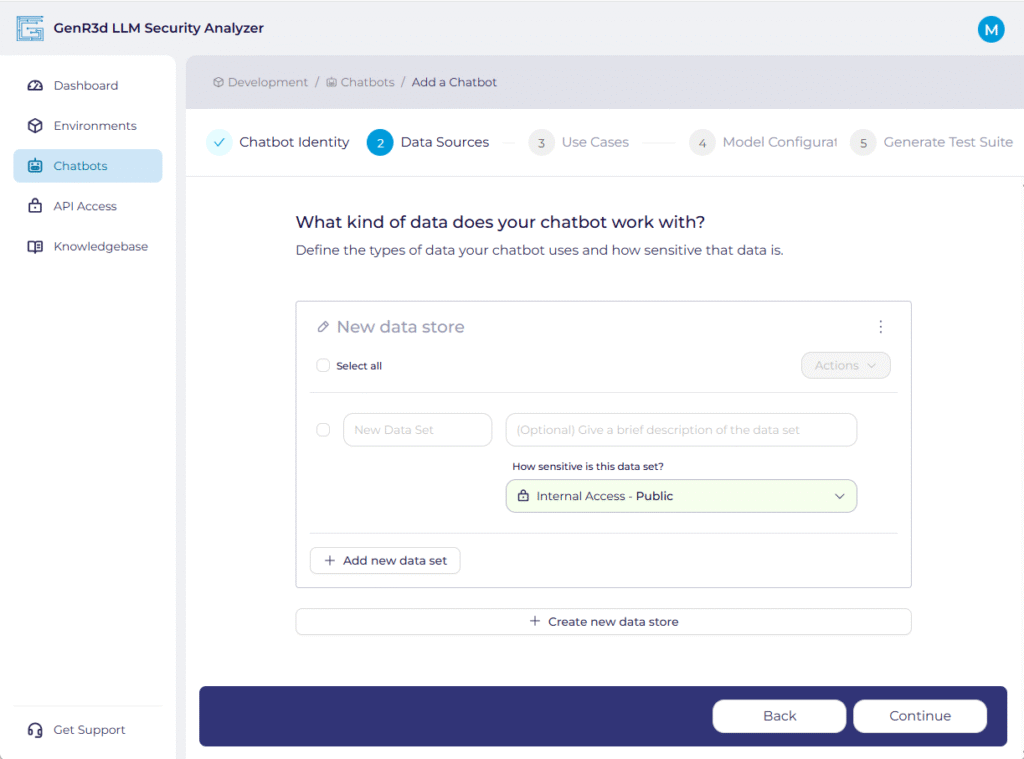
The second set of fields for you chatbot you can update are the data sources used to train the LLM and any data sources that are retrievable during the chatbot sessions. Each chatbot is expected to have at least one data store, often the training material, which may be generic or may be your own proprietary data. Again, all of your previously populated information will already be in the window. You can make changes to any of the information displayed.
- Each of your data stores will display with their names. This will be references later in the Use Cases step, so name it something that will be meaningful later.
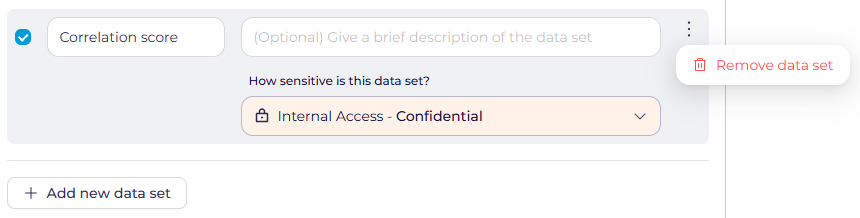
- Each dataset in this data store is prepopulated. You can add or delete existing data sets from here. If you want to delete a data set you can hover on the right hand side of the data set and 3 dots will appear. Click them, and you will be given the ability to Remove data set.
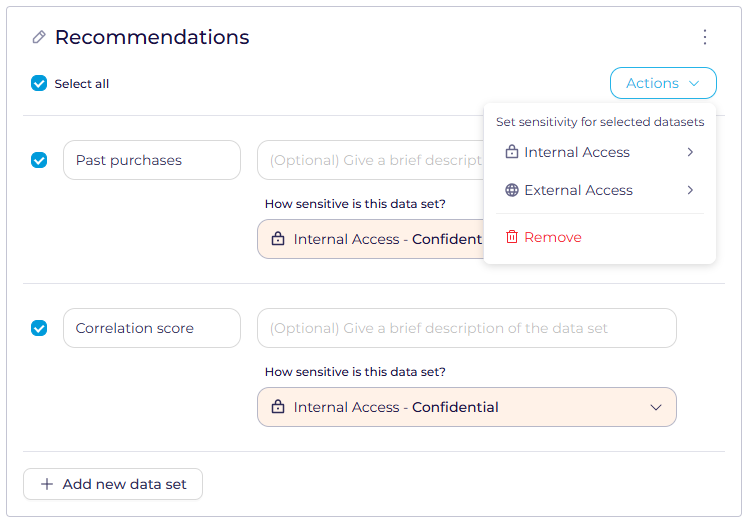
- You will also notice the check boxes next to each data set. This is there so you can delete multiple data sets or update all of the data sensitivities in bulk. If you want to update them all from Sensitive to Proprietary you would select them and then click Actions to select the updated sensitivity.
Click "Continue" when done and we'll start adding the chatbot Use Cases. If it would be helpful to see an example of a completed chatbot: Example Chatbot.
Step 3: Use Cases #
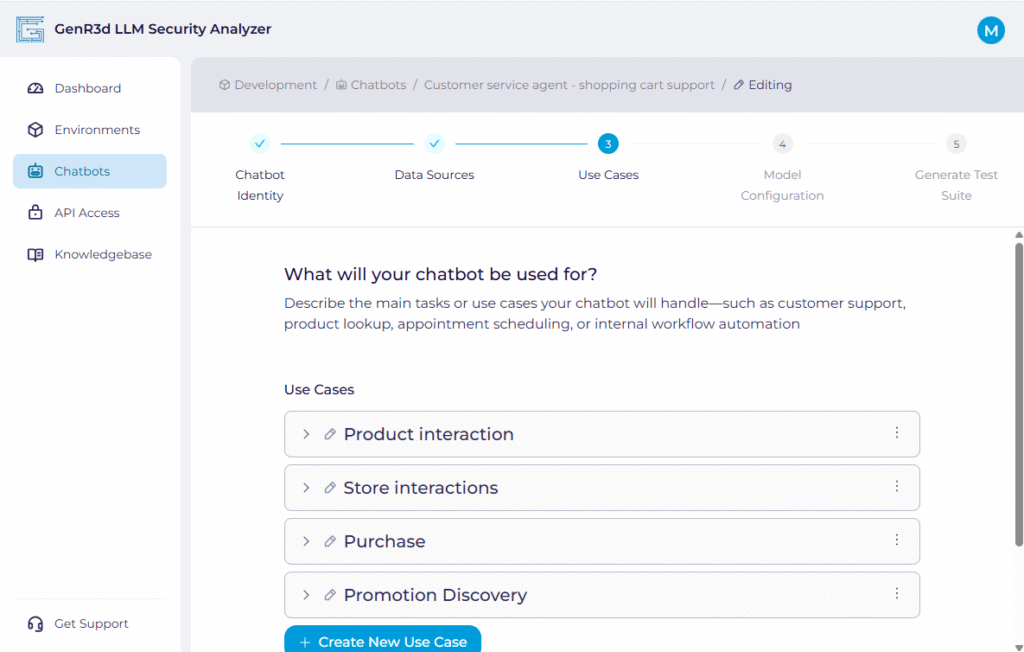
We are now back at the third step: defining your Use Cases. As with before, all of your previously populated information will already be in the window. However, for visual simplicity the Use Cases are flattened. To expand, click on the right-facing arrow on the left hand side. You can make changes to any of the information displayed.
- First is the name of the Use Case.
- Next, indicate what you intended your users to be able to accomplish using this chatbot in this Use Case. You are likely to have multiple expected actions inside of single Use Cases. Remember:
- Actions are separated by commas
- This is important because this helps the GenR3d platform associate the appropriate Abuse Cases with your chatbot.
- Next, list the types of users you expect to use this chatbot. If multiple audiences are expected to use it, put them here. Remember:
- User groups are separated by commas
- The next question captures when you would bring a human into the loop during the execution of the Use Case.
- The data stores you selected last time you created the Use Cases remain. If you need to add a new one or remove an existing one you can here.
- Last, if you have any expected prompts or queries either from your testing or from user testing, you can add them here. Remember:
- Prompts are separated by commas
To see an example of a completed chatbot, you can see it at Example Chatbot. Once you are happy you've updated the relevant information, click "Continue".
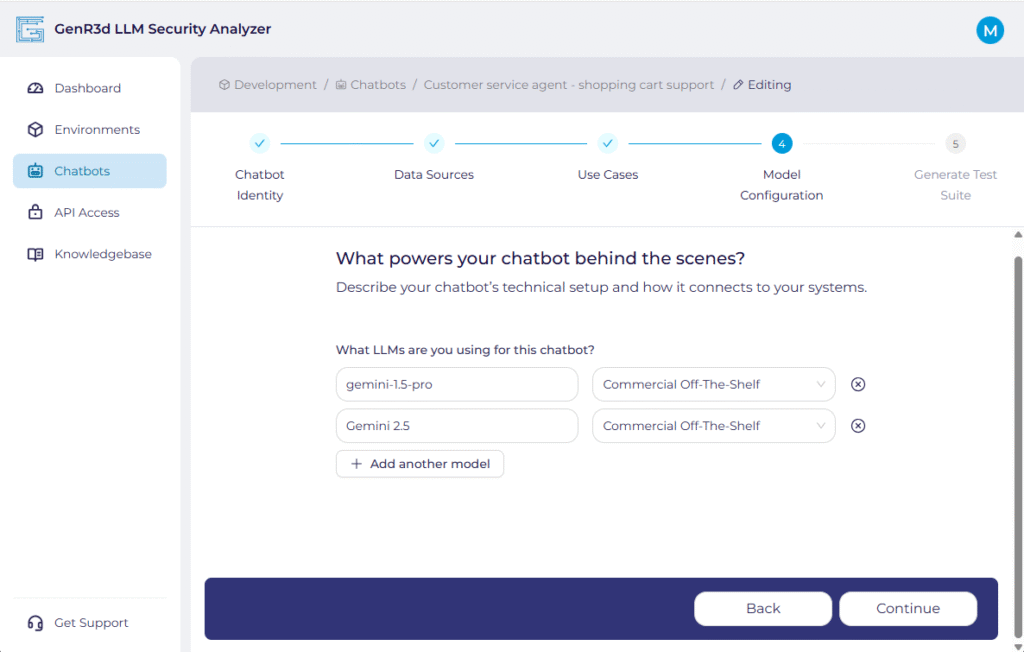
Step 4: Model Configuration #
We are now ready to update the defined LLM's powering the chatbot. Remember, the steps to update the chatbot's URL and API information are found in another window. Please see the Update your chatbot's URL and API article for more information.
- Here, you can update the system with what LLM's are powering the chatbot. You can select from the list or type in your own selection. The hosting type is meant to indicate if this is a Model as a Service (such as Gemini on Vertex AI) or a self-hosted model.
You're just about done! Once you have updated the relevant information, click "Continue".
Step 5: Review and Generate Test Suite #
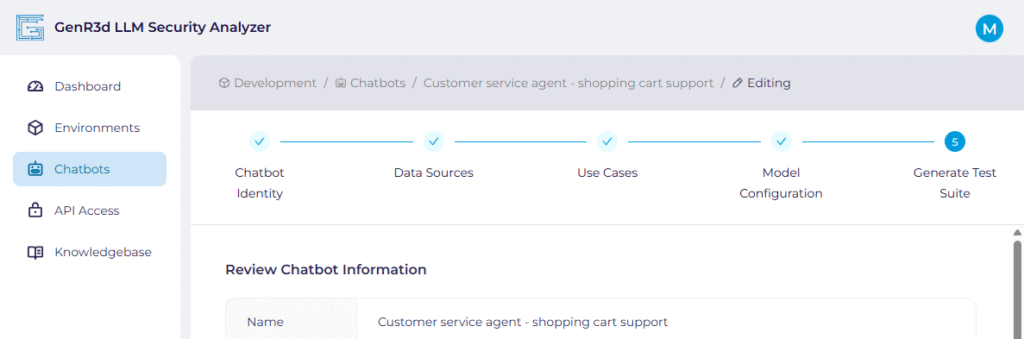
You have completed the information required for the chatbot. Now review the information you have provided. Everything is shrunk to make it more readable, but expand each of the Data Stores and Use Cases to make sure they are accurate. Once you're done your review, click the "Submit" button on the bottom.
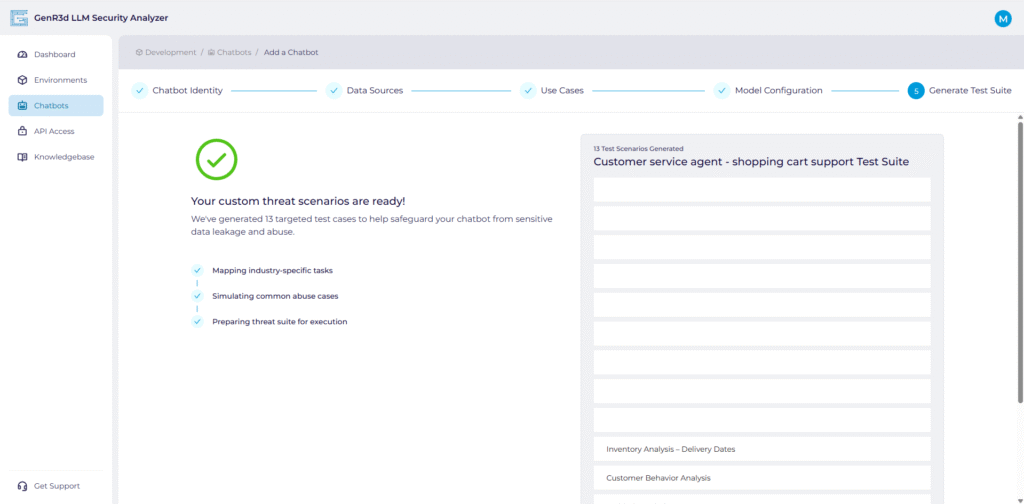
Once you submit the chatbot information, the system begins updating the security test suite, associating the Abuse Cases to your Use Cases and Data Stores based on the new information provided.

Once complete, the system will provide you a list of custom threat scenarios associated with your chatbot. Now you are ready to start running scans against your chatbot.